.txt Thoughts, Tips and Tricks
{
  "author": "Alex Milanov",
  "avatar": "http://1.gravatar.com/avatar/0edabe98dd46b7ca4b69476a6be41736",
  "createDate": "2015-11-15",
  "lastUpdate": "2016-03-01",
  "techStack": ["xubuntu","docky","numix","zsh","nodejs"]
}
My Linux Setup
By popular demand (at least once a week I get a question about my setup)
I decided to write an article that will guide you through the process of installing, setting up and customizing the linux experience based on my preference (hence the name of the article).
I will be updating this article as I am changing my setup.
Here is the current tech checklist:
- xubuntu linux base
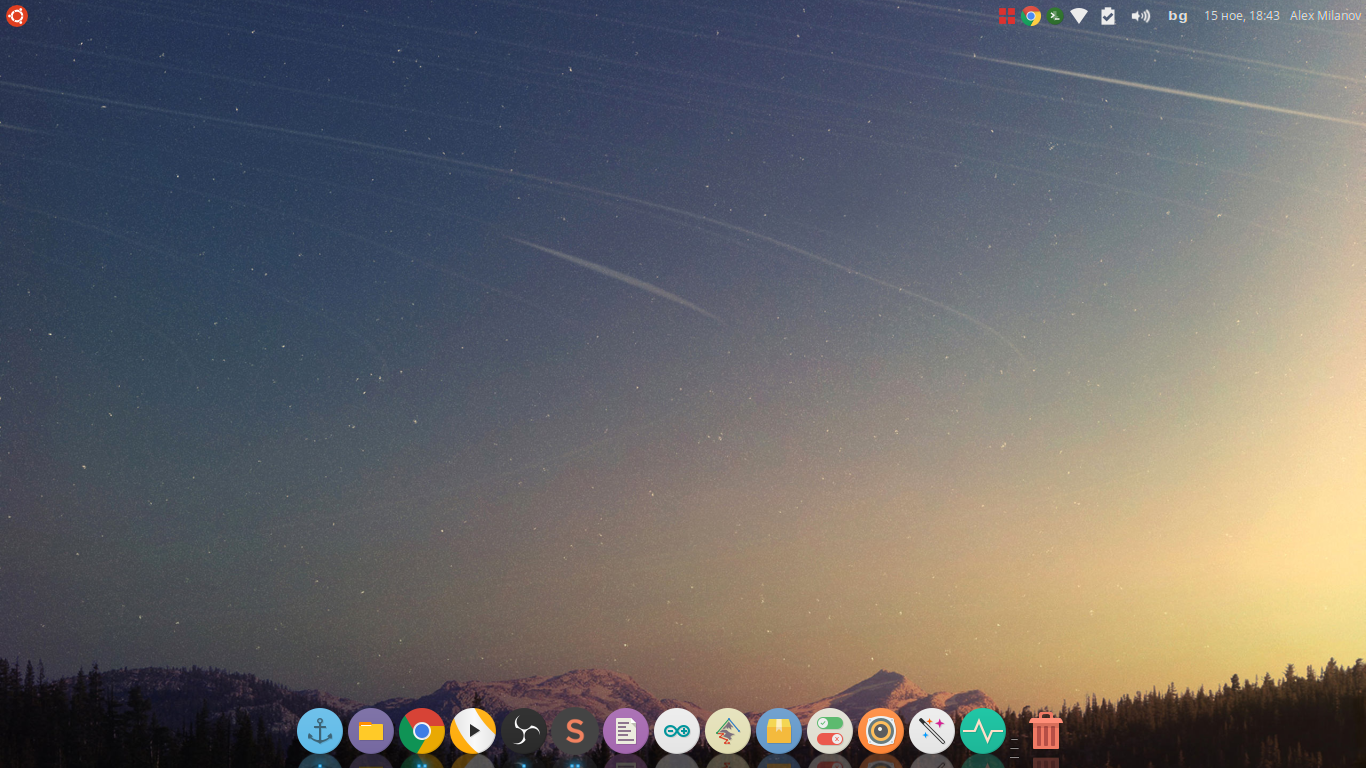
- docky, numix circle theme - for the OSX like doc and icons
- quake style drop-down console with custom pimped up zsh shell
Let's get started then.
Step 1: Download and install xubuntu
Just get the .iso from http://xubuntu.org/ burn it to disk, usb ... and follow the installation process.
Step 2: Install dependencies & general tools
Let's start of by installing initial dependencies:
- docky is what I am using as an applications dock, which gives similar to OSX feel
- synaptic is a gui package manager (alternative to writing sudo apt-get in the console)
- git is what is used predominantly for version control
- curl has similar functionality to wget, also can be used to test REST APIs
- vlc opens most video and audio apps, don't know why it doesn't come pre-installed
- nemo is my choice for gui file manager
- gedit is general use notepad
- ranger is currently my in-console file manager
- xclip is a way to copy the contents of a file in the clipboard from the console
sudo apt-get install docky synaptic git curl vlc nemo gedit gedit-plugins ranger xclip
I will expand the usage of these apps in a future article (My Linux Workflow)
Step 3: Customize the appearance
- Set up docky
- Start up docky by using the applications (Whisker) menu top left
- Open Docky Settings (First Icon) -> Theme Transparent, 3D Background
- Set up the top panel
- Right click on the panel -> Panel -> Panel preferences
- Appearance Tab -> Alpha -> 0
- Items Tab -> remove Window Buttons, add Action Buttons after Clock
- Change the applications (Whisker) menu icon
- Right click on applications icon -> Properties -> Change Icon -> ubuntu-logo
- Set up the icon theme (numix-icon-theme-circle)
- Add the repo and install the theme
- Change it via: Settings -> Appearance -> Icons
  sudo add-apt-repository ppa:numix/ppa
  sudo apt-get update
  sudo apt-get install numix-icon-theme-circle
Step 4: Additional Setup - Workspaces, Shortcut keys, i18n
Note! In the previous setup I used compiz for smooth workspace transitions. The support of that project seems to be lacking recently.
So in my latest setup I am using the built in Settings (Workspaces, Window Manager & Window Manager Tweaks) to be able to have the same interaction (without the smoothness).
Step 5: Console Setup
Console as drop-down
- Open Settings Manager -> Keyboard -> Application Shortcuts
- Click on the Add button and enter the following:
xfce4-terminal --drop-down - Hit OK and press F12 to set the shortcut key.
- Afterwards right click the console indicator icon in the panel and select Preferences
- Be sure to set up the width to 100% and tweak the opacity
Pimp my Console (with zsh and custom theme)
# Install zsh via
sudo apt-get install zsh

# Install oh-my-zsh
wget https://github.com/robbyrussell/oh-my-zsh/raw/master/tools/install.sh -O - | zsh

# Set it as default:
chsh -s $(which zsh)

# then log out and log in and it should work
Step 6: Basic Dev Environment
I happen to be a Full-Stack JavaScript developer (with some additions) so nodejs is super important. And there is one correct way to install it (on linux):
Install and setup node via nvm (node version manager)
# first download and install nvm
curl https://raw.githubusercontent.com/creationix/nvm/v0.11.1/install.sh | zsh

# to check if the installation was successful open new tab and list remote versions
nvm ls-remote

# install the latest version (currently 5)
nvm install v5.*

# set it as default
nvm alias default v5.*

# finally install some global dependencies via nvm
npm install -g nodemon bower gulp-cli
Step 7: Compiling Atom beta from source
Atom is a powerful and easy to use open source IDE written in JavaScript by the team behind github.
Currently the precompiled .deb files both for the latest and beta releases that you can download have performance issues. What I've found is when I compile them from source the performance is much better.
You can read the full build instructions here: https://github.com/atom/atom/blob/master/docs/build-instructions/linux.md
I am just gonna add the relevant once here:
Install deps
sudo apt-get install build-essential git libgnome-keyring-dev fakerootClone the atom repo
git clone https://github.com/atom/atom && cd atomCheckout the latest release
git fetch -p
git checkout $(git describe --tags `git rev-list --tags --max-count=1`)
Build atom (You might wanna get some coffee or 3, watch a movie or sth. while you wait for this)
script/buildGenerate a .deb package so that it can be installed/uninstalled easily
script/grunt mkdeb
Further Resources
- Add Quick Preview: http://www.webupd8.org/2015/01/quick-file-previewer-gloobus-preview.html
TODO
- [ ] Expand Additional Setup
- [ ] Music Production Environment
- [ ] App Customization - Gimp -> Photoshop, Inkscape, Gedit++, Atom beta